Beading basics
|
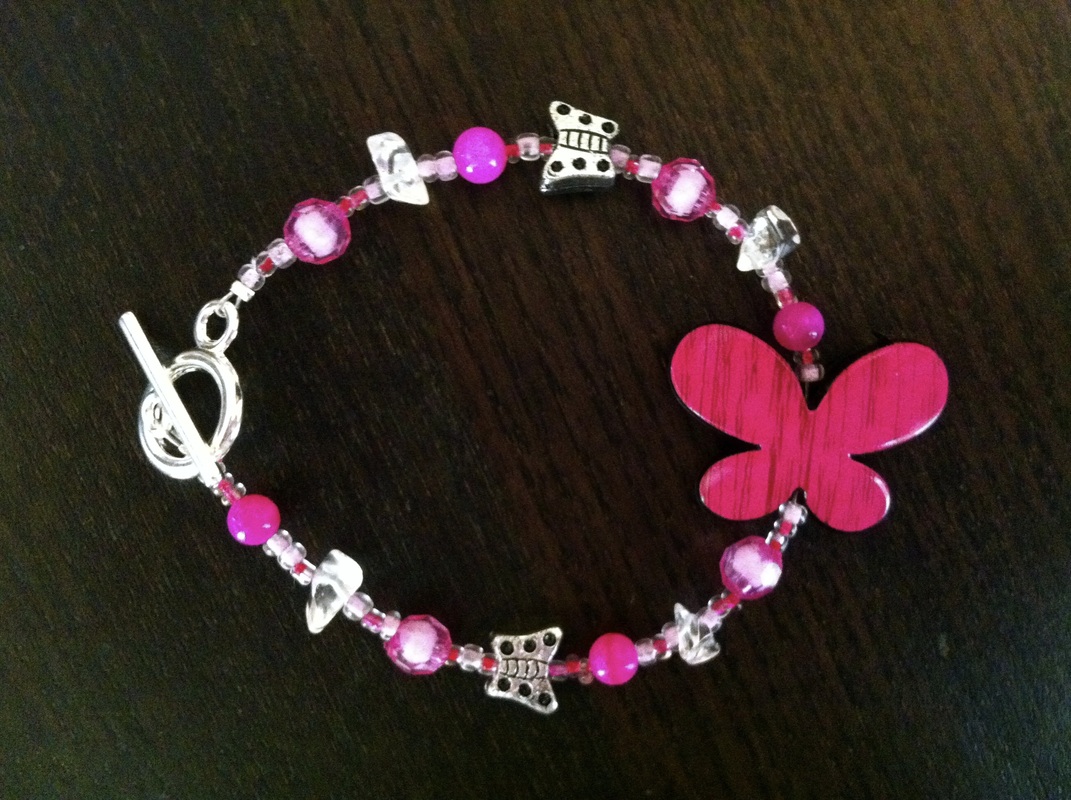
How cool is it if somebody complements you on your beautiful necklace and you can say; ”I made it myself”! Beading is not as hard as it seems. You only need to learn about a few basic tools, supplies and techniques and you can make some pretty creations yourself. And believe me this is not just for girls, there are also boys that enjoy making their own cool necklace or bracelet.
|
Age
From 5 years and up
What you need
From 5 years and up
What you need
|
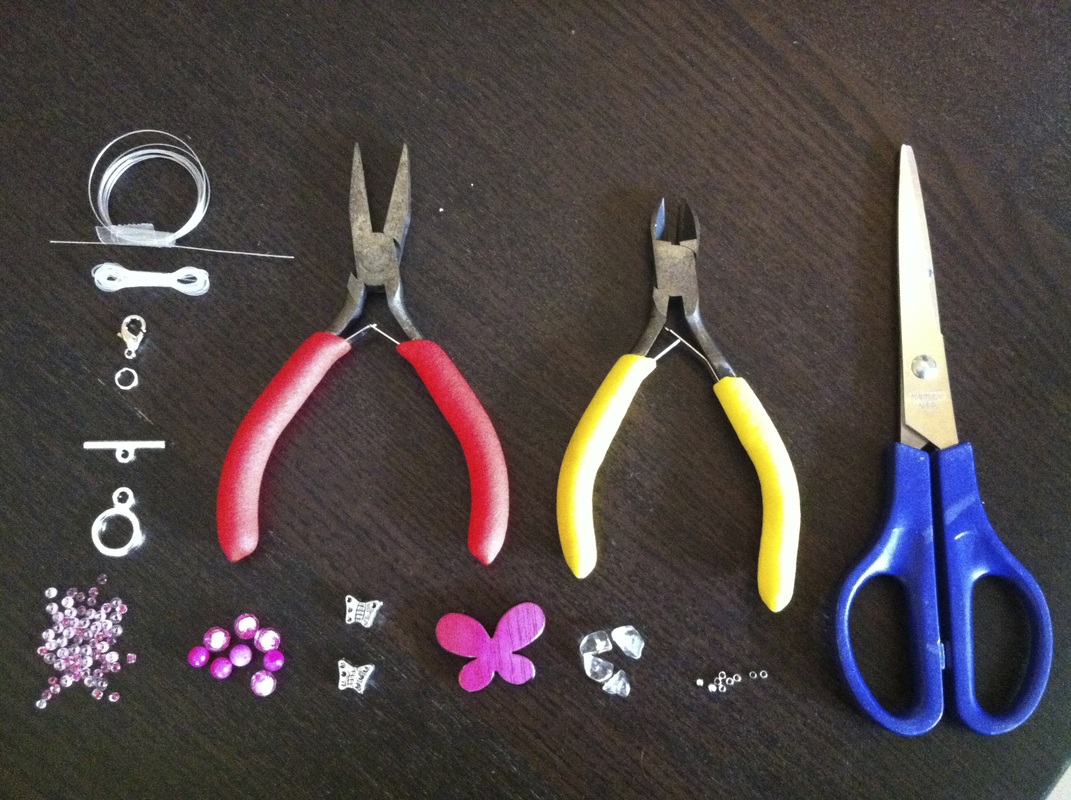
Plier (with flat back)
Cutter or scissors Tigertail wire (stringing wire that is flexible but not stretchy) or elastic (stretchy) 2 crimps (small little beads in silver or gold that close by applying pressure on it) 1 clasp (lobster or toggle clasp) Beads (in different colours and sizes) Beading board (optional) |
Preparation
Get all your supplies at a beading shop or craft shop. Julapan stationary shop in Chalong has an extensive range of (kids) beads and supplies. Wooden and acrylic beads are the cheapest ones in the market and come in a variety of shapes, colours and sizes.
Buy a toggle clasp if you want to make a bracelet. They are generally a bit more expensive than a lobster clasp but much easier to open and close with one hand.
The hard part is always deciding what you want to make, choosing your design and colour. If you have never done any beading, it is easiest to start with replicating a necklace or bracelet you like. For some inspiration go online or browse through the jewellery section in a shop.
Play
|
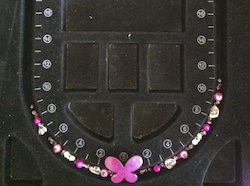
Start with designing your necklace or bracelet by arranging all the beads in your pattern on your beading board or the table. You can use beads of one size, one colour, or mix them up, whatever you think is prettiest. Using a beading board can help you with with the design and it is easy to see how many beads you need. (see picture)
|
|
Cut your tigertail or elastic in the correct size. For tigertail use a cutter, elastic you can cut using scissors. Always take a bit extra so you have enough space to properly attach your clasp at the end.
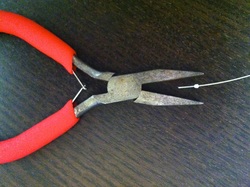
Then start stringing on your beads. Be careful they don't fall off on the other end. You can put a crimp at one end and close it with the plier, that will stop the beads from falling off. (see picture) |
|
When you have put on all your beads, check that the bracelet or necklace has the correct length. Allow for a little bit of extra room at the end as you still need to attach your clasp.
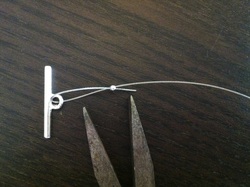
Now it is time to finish of your piece and put on the clasp. First string on a crimp (if you have a heavy necklace use 2 crimps) and then add one end of the clasp. String the wire back through the crimp (see picture) and if possible the beads and pull it tight (not too). |
|
Then close the crimp with your plier and cut off the excess tigertail. Now do exactly the same at the other end (if you have added a crimp to stop the beads from falling off, cut that off first). (see picture)
If you made a bracelet or necklace with elastic, the finishing is very easy. Just tie the 2 ends tightly together and make a few knots. To secure the knot add a few drops of clear nail polish to it. |
Add-ons for more fun play
Clean up
Clean up the table together once you are finished. Store the left over beads and supplies in a storage box with compartments for another time.
Educational
Beading is a good activity to stimulate creativity and for developing fine motor skills. Next to that it also helps to improve the cognitive skills by planning and designing the project (how long is my necklace going to be? how many beads do I need?)
Making a piece of jewellery can provide a great sense of accomplishment and pride to your kids which can boost their self confidence.
This activity is very suited to do with a group of people, maybe on a girls birthday party? In a group kids can learn and get inspiration from one another.
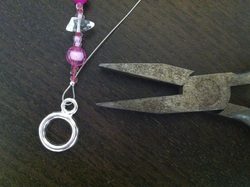
- Attach a pendant or charm to your piece. Open up a jump ring (small ring with an opening) add your pendant or charm to it, place it on your creation and close it. The jump ring is easiest to open and close by holding it on both sides with a plier and moving it for- and backwards.
- Ribbon can also be used for making jewellery. You can tie a ribbon bow to your bracelet, or instead of using a clasp use ribbon to open and close your necklace by simply tying a piece of ribbon to both ends.
- Make multi-strand creations. Maximum 4 strings of tigertail will generally fit through one crimp.
- Instead of making a bracelet or necklace, how about making earrings or a key ring.
Clean up
Clean up the table together once you are finished. Store the left over beads and supplies in a storage box with compartments for another time.
Educational
Beading is a good activity to stimulate creativity and for developing fine motor skills. Next to that it also helps to improve the cognitive skills by planning and designing the project (how long is my necklace going to be? how many beads do I need?)
Making a piece of jewellery can provide a great sense of accomplishment and pride to your kids which can boost their self confidence.
This activity is very suited to do with a group of people, maybe on a girls birthday party? In a group kids can learn and get inspiration from one another.
